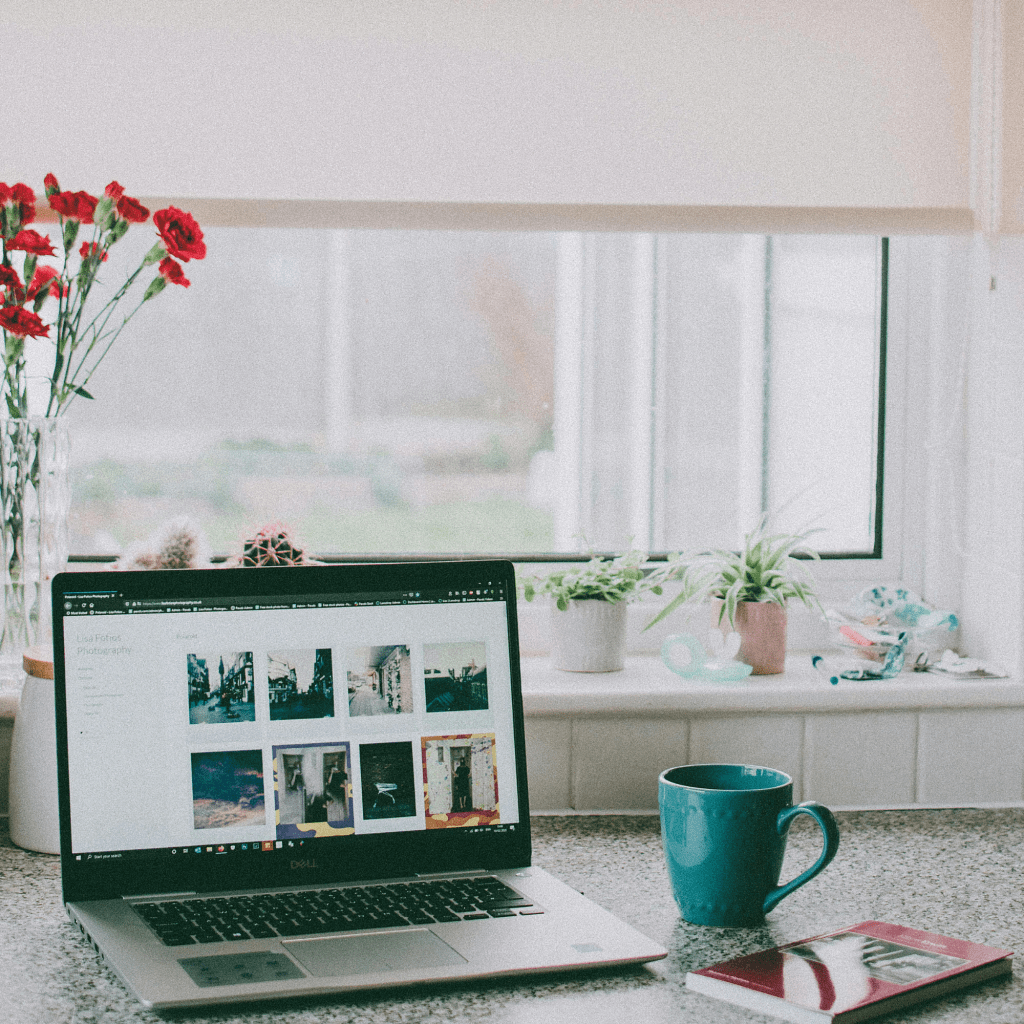
This is not an ad for WordPress; however, this is the platform that I use and am most familiar with.
Are you considering becoming a blogger but don’t know which platform to choose? Then you’ve come to the right place.
In this blog post, we’ll look at:
- Why Choose WordPress for Blogging
- WordPress.com vs WordPress.org
- Setting Up Your Blog (Step-by-Step)
- Customising Your Site (Making It Feel Like You)
- SEO Basics for WordPress Blogs
- Managing and Scheduling Posts
- Security and Maintenance
- Monetization Options
- Final Thoughts: Why I Stick with WordPress
When I first thought of blogging, I found it super daunting to decide which platform to use. I wanted something user-friendly but flexible enough to grow with me. That’s when I found WordPress.
As part of my journey to freedom, I want to help other bloggers shine by sharing some how to’s and tips. So continue reading below and let me know if this helped or anything is missing.
Why Choose WordPress for Blogging
When starting a blog, one of your biggest decisions is choosing the right platform. With so many options—Blogger, Wix, Squarespace, Substack—it can feel overwhelming to know where to begin. After researching and using WordPress, I believe it offers flexibility, ownership, SEO control, and scalability.
WordPress gives you complete creative control, unlike other platforms that limit how much you can customise. You can choose your own hosting, design your layout exactly how you want, and install plugins to enhance functionality as your blog grows. You truly own your content, meaning you can move it, back it up, and evolve it however you like.
WordPress.com vs WordPress.org
One of the biggest confusions for beginners is the difference between WordPress.com and WordPress.org. They sound similar, but they’re quite different.
- WordPress.com is a hosted platform—meaning your site lives on WordPress’s servers. It’s easy to start, but it has limitations on customisation, plugins, and monetisation unless you upgrade to higher-tier paid plans.
- WordPress.org, on the other hand, is self-hosted. You’ll need to buy your hosting and domain, but you gain full control. You can install any plugin, run ads, and fully customise your site’s design and functionality.
Think of WordPress.com as a “ready-made apartment,” while WordPress.org is more like building your own home. The setup takes a little more effort, but it’s worth it for the long-term flexibility and creative freedom.
Setting Up Your Blog (Step-by-Step)
Setting up your WordPress blog is easier than it sounds. Here’s a quick walkthrough to help you get started on WordPress.com:
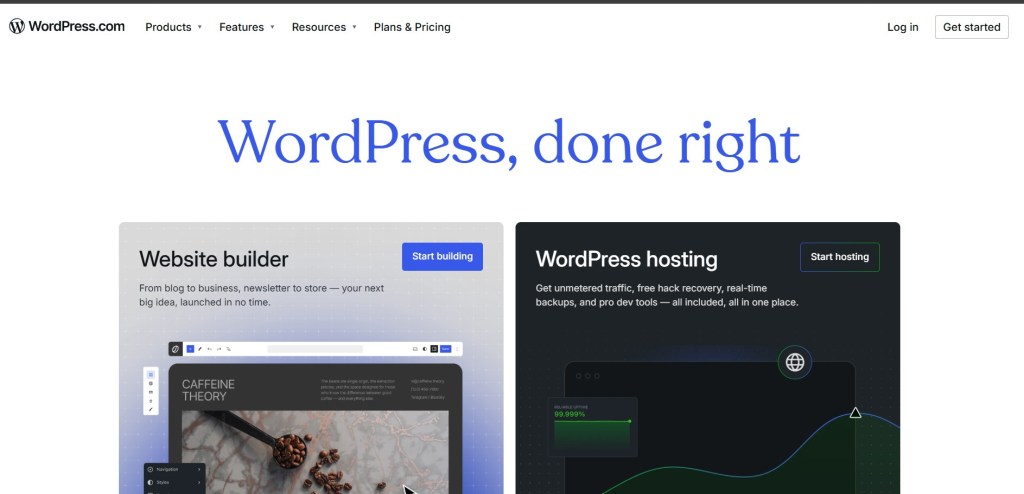
Step 1: Go to wordpress.com and click Get Started
- Log in using your preferred method (Google, Apple, or email).
Step 2: Choose Your Blog Type or Goal
WordPress will ask what kind of website you want to create. You’ll see options like:
- Blog
- Business site
- Portfolio
- Online store
👉 Choose “Blog” — this sets up your site with a blogging-focused layout.
Step 3: Pick a Domain Name
You’ll then be asked to choose your web address (URL).
Examples:
- youdeservetoshine.blog
- youdeservetoshine.wordpress.com (for the free version)
If your preferred name is available, click Select.
You can connect your domain later if you’ve bought one through GoDaddy, Google Domains, or another provider.
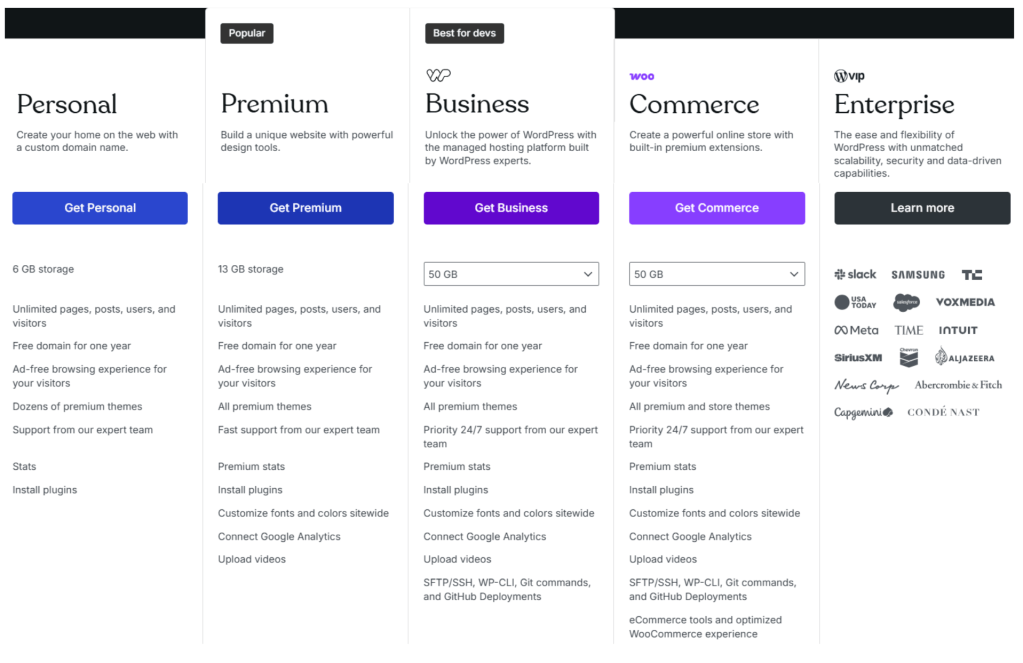
Step 4: Choose a Plan
WordPress will show its pricing tiers:
- Free
- Personal
- Premium
- Business
- eCommerce
When I started my blog, I selected Free and later upgraded to Premium to secure my custom domain.
I’ve noticed some limitations with the Premium plan — for example, you can’t install third-party plugins like ConvertKit (used for email signups). However, there are workarounds, such as creating a call-to-action button or linking out to your external signup form.
🔗 Compare WordPress.com plans here
Step 5: Pick a Theme
After choosing your plan, you’ll see a selection of free and premium themes. You can:
- Search by keyword (e.g., minimal, lifestyle, journal).
- Preview what each theme looks like.
- Select one to start customising immediately.
You can change your theme anytime under your dashboard’s right-hand navigation menu Appearance → Themes.

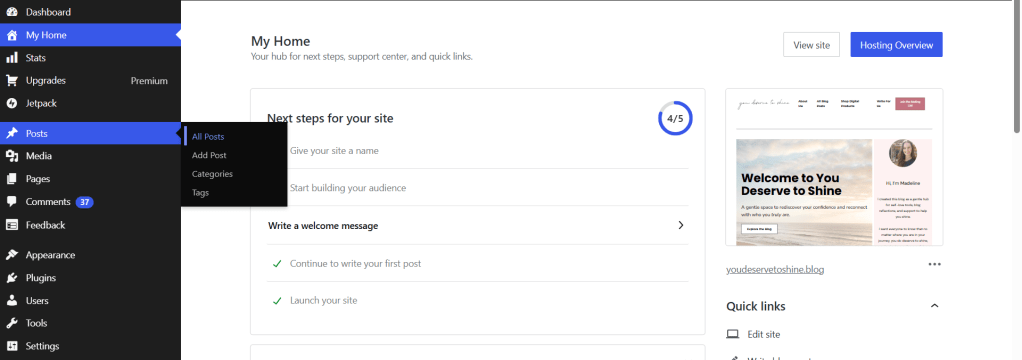
Step 6: Explore Your Dashboard
Once your site is created, you’ll land inside your WordPress.com Dashboard (e.g., wordpress.com/home/yoursitename). From here, you can:
- Write your first post (Site → Posts → Add New)
- Customise your homepage (Appearance → Editor)
- Add new pages (Site → Pages → Add New)
- Edit menus and navigation (Appearance → Editor → Navigation)
Step 7: Publish Your First Post
- Go to Posts → Add New
- Write your content in the Block Editor (you can add text, images, quotes, etc.)
- Set a featured image, add categories/tags, and click Publish!
Tip: WordPress’s Support Guide on Publishing, which will give you details on how to create a page or change your theme.
Customising Your Site (Making It Feel Like You)
Once your blog is live, it’s time to make it yours.
Go to Appearance → Editor to start personalising your site.
Here you can:
- Adjust your colours, fonts, and logo to match your brand aesthetic.
- Reorder or rename your menu under Navigation.
- Edit your homepage layout using blocks (text, image, buttons, etc.).
Add a few finishing touches like a “Recent Posts” section, “About” blurb, or newsletter signup to make it feel complete.
Tip: The Support Guide: Create a Static Front Page shows how to set your homepage layout step-by-step.
If you’re on the Business plan or higher, you’ll unlock more advanced design tools (like CSS editing or custom page templates).
SEO Basics for WordPress Blogs
Search engine optimisation (SEO) helps people discover your blog. WordPress makes this easy with built-in tools, even if you don’t have access to external plugins.
- Permalinks: Use clean URLs (e.g., yourblog.com/how-to-build-confidence).
- Categories & Tags: Organise your posts by topic.
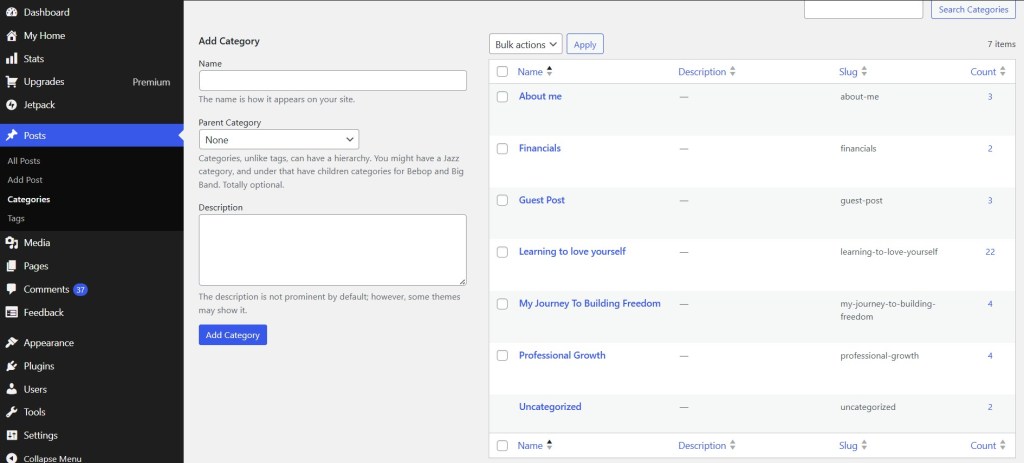
- I have created several, including ‘loving yourself’, ‘financial freedom’, ‘professional growth’ and many more.
- You can create categories under Posts → Categories
- Image Alt Text: Always describe your images clearly to improve accessibility and SEO.
- SEO Plugins: Popular tools like Yoast SEO and RankMath require the Business plan or higher, but you can still manually optimise your posts using titles, excerpts, and headings.
For screenshots and examples, explore the Support Guides → Writing Posts.
Managing and Scheduling Posts
Consistency helps build trust and engagement with your readers.
If you have a business plan or higher, you’ll have access to the post scheduler, allowing you to plan content ahead of time.
- Use the Scheduler: In the post editor, click Publish → Schedule to set a date/time.
- Plan Ahead: Use Trello, Notion, or a spreadsheet to organise your content calendar.
- Use Drafts and Previews: Even on the Premium plan, you can save drafts, preview posts, and refine formatting before publishing.
For visuals, visit the Support Guides → Publishing Posts.
Security and Maintenance
Your blog’s security matters just as much as your content.
- Keep Everything Updated: Regularly update your themes and WordPress core.
- Use Strong Passwords and 2FA: Protect your account with secure credentials.
- Set Up Backups: Automatic backups are available with the Business plan or higher; on Premium, WordPress handles some backups automatically.
- Run Site Health Checks: Check your site’s performance and uptime in Tools → Site Health.
For more protection and maintenance advice, check the Technical Guides → Security and Maintenance.
Monetisation Options
Once your blog starts gaining traction, you can explore ways to earn from it:
- Display Ads: Google AdSense and similar ad networks require the Business plan or higher.
- Affiliate Marketing: Share products you love using affiliate links (be sure to disclose them).
- Digital Products: Sell eBooks, printables, or digital downloads.
- Memberships: Offer exclusive posts or resources to subscribers.
Start small and focus on creating valuable, engaging content first — the income will follow naturally.
For more information, visit the Technical Guides → Monetisation & Site Management.
Final Thoughts: Why I Stick with WordPress
The more I use WordPress, the more I like it. I’m constantly finding new ways of blogging and evolving my blog growth.
It’s a platform that grows with you — whether you’re blogging for fun, building a brand, or creating a business. Having full ownership over my content and being able to personalise every part of my site has been empowering.
Even with a few limitations on the Premium plan, there are always workarounds and creative solutions. WordPress is the perfect place to begin if you’re ready to create something that’s truly yours — something that evolves with you.
Let me know in the comment section below if you have any helpful tips!
Keep shining,
Madeline
Relatable Posts
